Receiving an API key
To receive an API key from an eLabNext user for use within your own web-based platform, it is best to use the eLabNext ‘Authentication flow for 3rd party systems’ option.
Authentication Flow For Web Applications
Here are the prerequisites for using this authentication mechanism:
- Inside your web-based platform, you will need to redirect the user to the URL https://{{eLab Endpoint}/members/fn/externalAuth/?rootVar=MyExampleRootVar&state=myOptionalStateString
- You will need to have an active Add-On for the user enabled which includes a static variable authReturnURL inside your namespace.
- This variable needs to include the full URL to and endpoint at your web-based platform that is able to receive a so-called ‘request token‘.
Below is a diagram how the exchange of tokens takes place. Download the example code to see it in action. The example code requires nodeJS to be installed onto your system.

The steps:
-
User initiates request for API token
At your platform, there will be an action for the end-user to request an API token from eLabNext. The only prompt to the end-user is to which endpoint this API token would need to be requested. This ensures that organizations that host eLabNext, under their own domainname, will be able to use this feature.
This may need some explanation for end-users to understand what is asked of them. Ideally, you would validate/parse & correct their input to end up with the proper syntax. (E.g. when an end-user would copy/paste any page that they regularly access, such as https://www.elabjournal.com/members/, you may want to accept and correct that input to reflect the true ‘endpoint’ which is www.elabjournal.com before redirecting it to https://{{eLab Endpoint}/members/fn/externalAuth/?rootVar=MyExampleRootVar&state=myOptionalStateString).
Here, rootVar needs to be the rootVar of your Add-On. state is an optional parameter that will be echoed back to you. This may be used to pass over some state value, and/or to increase security by any mechanism implemented on your end that prevents replay-attacks or parameter manipulation (e.g. by passing over a salted hash from a known state).
-
Receives ‘Request Token’
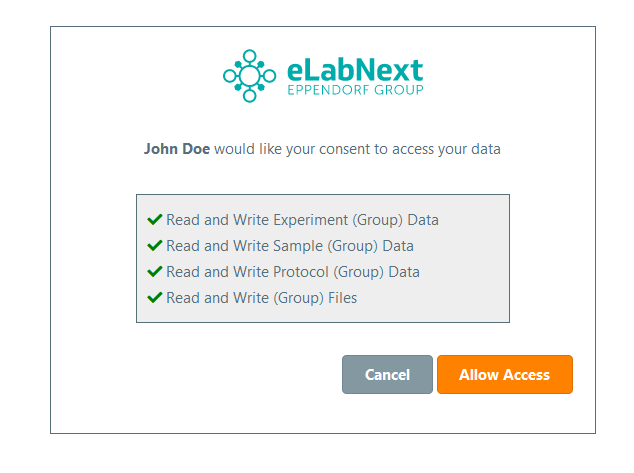
The user now gets redirected by you to https://{{eLab Endpoint}/members/fn/externalAuth/?rootVar=MyExampleRootVar&state=myOptionalStateString in order to give consent. When accepted, eLabNext will redirect the user back to you based on the static variable authReturnURL inside your Add-On namespace. This whitelists the return URL on our end for security purposes.
Please note that this also works while sideloading your script during development. In that case, the authentication flow will default into ‘Development Mode’, which means it will only read the authReturnURL from your side-loaded script, bypassing any locally installed add-ons.
-
Exchange ‘Request Token’ with API token
The authReturnURL is called, containing the request token as an URL parameter. The request token needs to be used within 60 seconds and can only be used once. On your end, you will then reach out to the API call https://{eLab Endpoint}/api/v1/auth/user/exchangeToken
(documented here), to use the request token for receiving a long-living API token. Make sure to post the value as Content-Type application/json.Download the example code to see it in action. The example code requires nodeJS to be installed onto your system.
Authentication Flow For Desktop Applications
The authentication flow is very similar to web applications.
The prerequisites for using this authentication mechanism are:
- Register a custom and unique URI Scheme for your desktop program, so that it opens when called from a browser and accepts its parameters.
- Ideally you call your own desktop program from inside an Add-On, so that you can pass the location.host javascript variable, that allows your desktop program to know which eLab Endpoint to use. If you are using the application completely stand-alone, you will need to prompt the user for the eLab Endpoint, as it may differ depending on region and type of installation
- Redirect the user to the URL https://{{eLab Endpoint}/members/fn/externalAuth/?rootUri=MyCustomUri&source=descriptionOfMyProgram
- After the user accepts, a redirect will occur to: {{Your custom URI Scheme}}:requestToken={{requestToken}}host={{originating Host}}
The request token received by your desktop application needs to be used within 60 seconds and can only be used once. On your end, you will then reach out to the API call https://{eLab Endpoint or host}/api/v1/auth/user/exchangeToken
(documented here), to use the request token for receiving a long-living API token. Make sure to post the value as Content-Type application/json.